

Shortly following the release of Azvaldt, Barbaros, Briny Convict and her crew rapidly established themselves as serious contenders. Consistency, power, and access to cards with sneaky advantages, Loot Swordcraft had everything a top deck could want. Dreadfully, its reign wouldn’t last, as after sending Octrice, Hollow Usurpation, Ultimate Hollow, and others to Davy Jones’ locker, it was no longer smooth sailing. After about six months of silence, Loot finally received a hero (in Rivenbrandt): Rogers, Ruler of the Seas.With the introduction of Rogers, Loot has risen to relevancy once again. It’s indisputably one of the best decks in the current meta, having no discernable weaknesses and boasting insane endgame potential. True to its previous iteration, despite being a deck that appears to fire pivotal cards at the board until the opponent surrenders, fully optimizing your chances of success remains an arduous task.


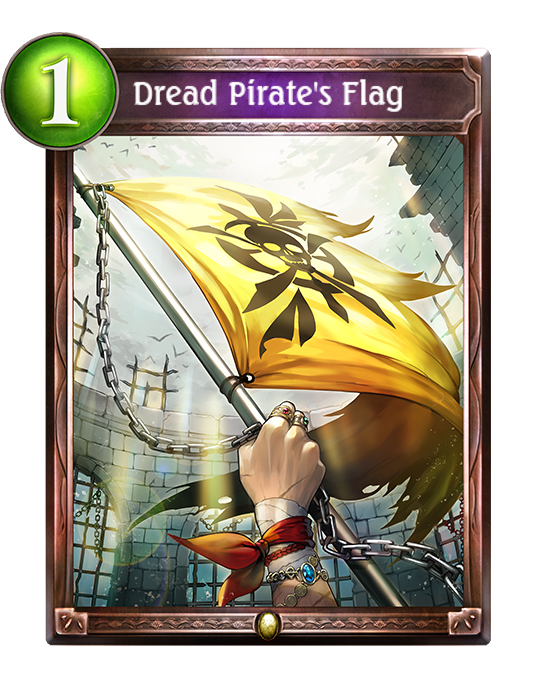
This card is crucial for the deck, so much so to the point where you mulligan very aggressively to obtain him. His leader effect not only lets you progress your Loot count even faster, but also vastly extends the damage potential of the deck. On lethal turns, having the ability to fit in an additional Loot (ideally an extra Dread Pirate's Flag) and dealing 2 extra damage allows the deck to reach extremely high burst damage. Moreover, drawing multiple copies of him isn’t even an issue due to his Accelerate effect being a cheap source of Rally and Loot. Although some games are manageable with no Rogers, he is so essential that the deck would not exist without him.


Until we get an Alwida retrain, Barbaros will hold onto the title of Pirate Queen. While in hand, she’ll help progress your Loot quest and has the upside of preventing overdraw. Unlike the rest of her crew, when you decide to play her, she will always add a Flag to your hand, regardless of whether or not you completed the Loot quest. On occasion, this can aid in setting up for an early lethal or can be the primary target for Storm-Wracked First Mate’s reduction. Upon meeting the 7 Loot condition, you commonly play Barbaros for her Storm effect to push massive damage or kill in a single turn. Nevertheless, there are certain situations where connecting her face can be difficult, so do not default to always playing her for Enhance; she’s a very versatile card, so more often than not, playing her for a 1PP Flag generator or a cheap source of removal is a more efficient way to utilize her.
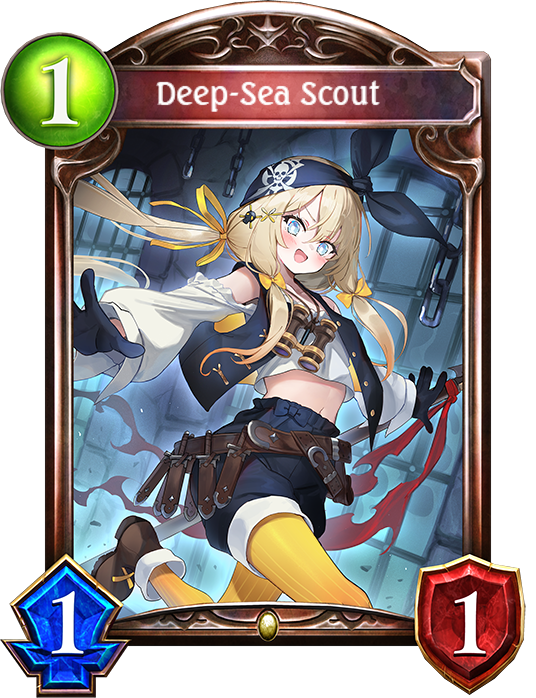
With Octrice and Illustrious Thief retiring from a life of piracy, Loot no longer has the same amount of draw it once had; frequently, this means it’s up to our favorite Deep-Sea Scout to provide the draw we need. You see a primary example of this on turn 3, where she’s often paired with 2 Loots to cycle and progress your quest. We strongly recommend against throwing her out just because you have spare play points; Scout is probably the most valuable card after Rogers himself. Instead of utilizing her as a means of filling your curve, please evaluate when the draw or a cheap Flag generator can benefit you.
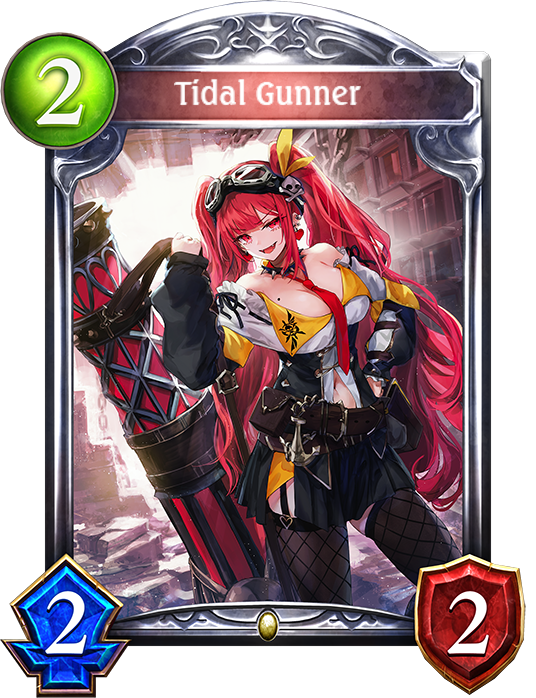
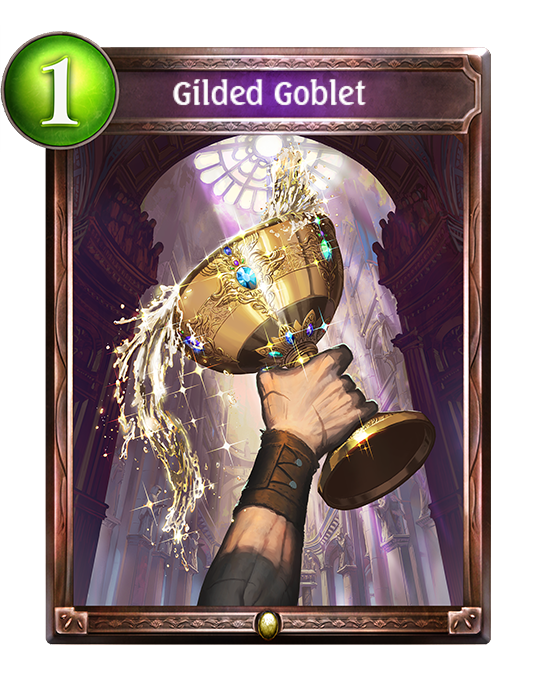
Tidal Gunner is one of the win conditions of the deck, being the other significant damage dealer besides Barbaros. For every Loot played, she’ll deal 1 damage to both your opponent’s board and their leader. Her damage is absurd, especially when you consider that she will be paired with Flags. Because Rogers essentially allows you to cheat an extra play point per turn, she pairs well with Barbaros’ Enhance on turn 7. Although her most common usage will be to blast your opponent, she is still very useful for survival against decks that can threaten your survival because of the Gilded Goblet she generates.
Compared to Azvaldt’s Loot Sword, Order Shift has fewer Loot generators and builds Rally slower without General Maximus. This makes First Mate all the more invaluable as he kills both birds with one cannon. He summons a Marine Raider or Cannoneer every time you play a Loot, meaning he can keep the loop going as long as you have the play points. Especially since Rogers’ leader effect already makes one of your Loots free, it is often unnecessary to kill as many Cannoneers as you possibly can. If you don’t need the extra Rally or Loot from the Cannoneer, reduce the Gilded Necklace or Flag he provides and hold onto it. This card is unparalleled when used in the right situations. Luckily, unlike Captain Barbossa, this First Mate remains loyal to the crew.
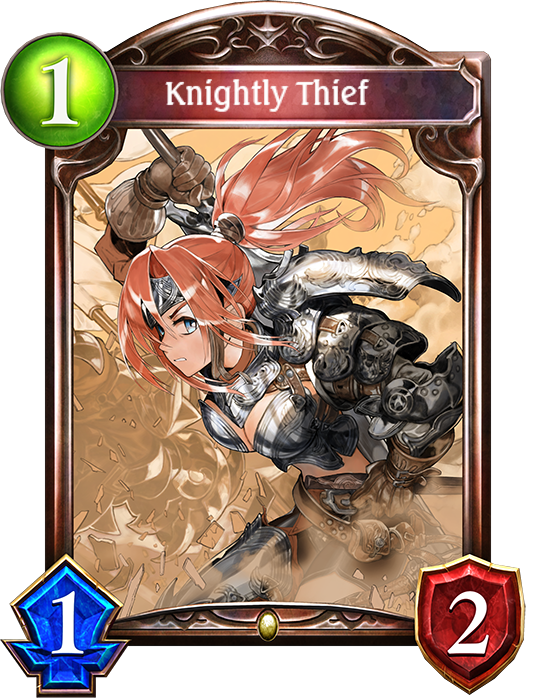

Knightly Thief is an exceedingly strong Loot generator that adds a Gilded Blade on Clash. Due to her 1/2 statline, the earlier you play her, the more likely you’ll be able to get multiple Blades. However, even in the mid to late game, her Rush upon reaching 7 Rally ensures she can be a cheap Loot generator or Rally if necessary.
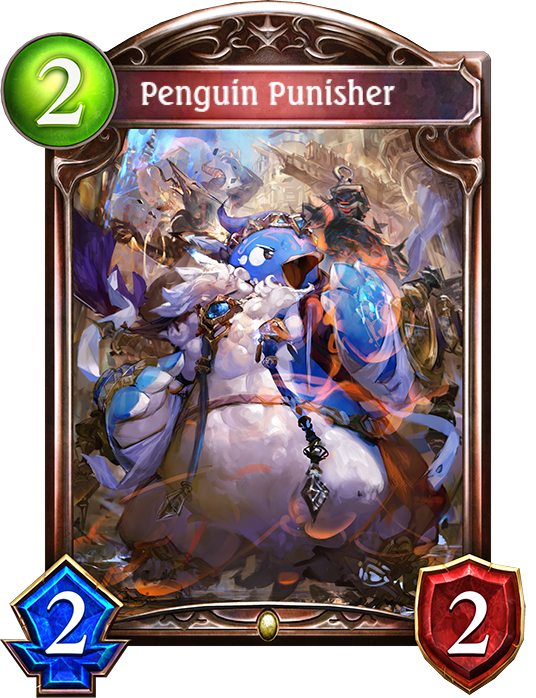
After losing three of the coolest Loot generators, Illustrious Thief, Chivalrous Bandit, and Arsène Lupin, players needed to find a replacement. The conclusion people reached: a penguin. While some may find his death voiceline confusing, his role in the deck should be straightforward. Penguin Punisher is a commendable follower in the early game, as the Blade he provides and a decent statline is enough to get some nods of approval. While there are more notable evolution targets, his evolve effect yields a Necklace to aid your quest progression. Having said that, after gathering the necessary Loot, this penguin is likely the first card you’ll be looking to synergize with Send in the Troops.
Opulent Strategist is a midgame survival tool that helps bridge the gap before your damage combo turns. Situationally, she can be an aggressive 3/3 body that requires immediate removal, but most of the time, you’ll play her for Rally 10; she can then reduce the cost of her choices significantly. Frequently, the choice will be Wee Merchant’s Appraisal, as the Loots it generates synergizes with Opulent while contributing to your quest (if you haven't already completed it). Additionally, her evolution point recovery enables you to play her alongside cards like First Mate, Rogers, and Asuka & Shiori, Twins. Choose Graceful Maneuver in emergencies should you have no other way to clear the board. Lastly, Dualblade Flurry is primarily only picked if it contributes to lethal. Despite being such a powerful tool, we only run two Opulents because having multiple copies in hand can be very bricky, and running too many copies will increase her chances of being pulled from Tony, Plucky Polliwog.

The payoff of the deck. It’s an incredibly efficient source of damage (1PP for 3 damage to the board and the enemy leader) that all your pirates will provide upon completing your quest. This token is the reason why you’re playing Loot.
Consistently your most indispensable Loot after Flag. Especially since you no longer have access to Ultimate Hollow, every bit of healing is all the more important. There are some niche scenarios where you heal a follower to make it more difficult to clear, but you almost exclusively use it to heal your leader. There are very few matchups where this token is trivial.
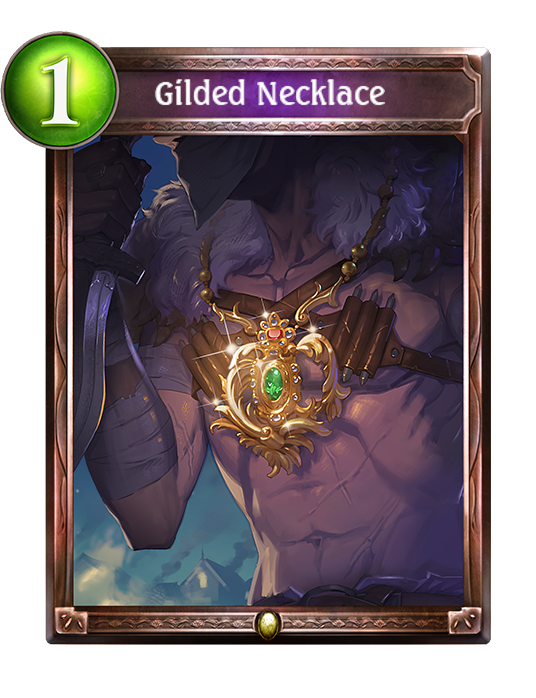
Gilded Necklace is still a solid Loot, as it converts to extra damage if you have a follower that survived. However, do note this is less likely compared to Loot’s previous iteration in Azvaldt, where you had access to multiple Ambush followers. This is also the most common Loot you reduce and retain with First Mate due to its innate synergy with Barbaros and Princess Juliet.
Gilded Blade fulfills its role decently, especially in a meta where tempo is relatively important. A large part of this has to do with the fact that both Knightly Thief and Penguin are cards you want to be playing early. The Blades help to maintain your board presence while dealing with your opponents’ followers. One drawback is that you need an opposing follower to play this card, so if you don't expect your opponent to provide targets, prioritize keeping other Loots and using the Blades when you can.
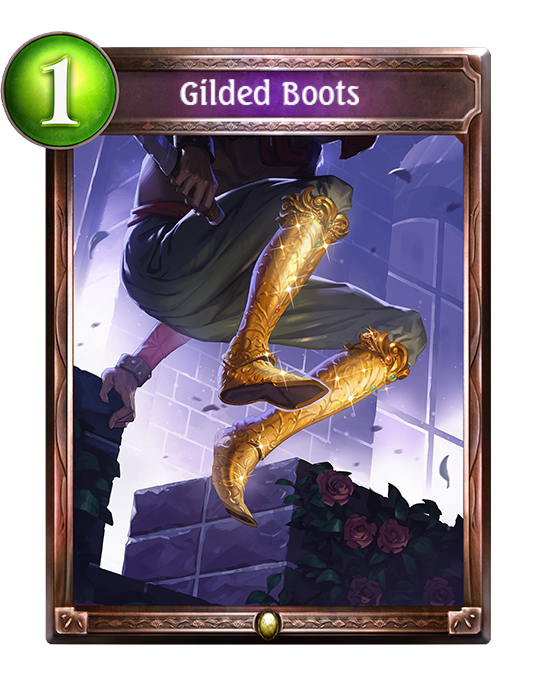
Gilded Boots can help clear the board by giving a follower Rush. It is predominantly used in conjunction with Marine Raider on First Mate turns. Boots is by far the most common Loot and is also the worst on average, so it’s relatively safe fodder to feed to Barbaros. Luckily, Kagemitsu, Lost Samurai is no longer here to protest Barbaros’ consuming his personal slippers.
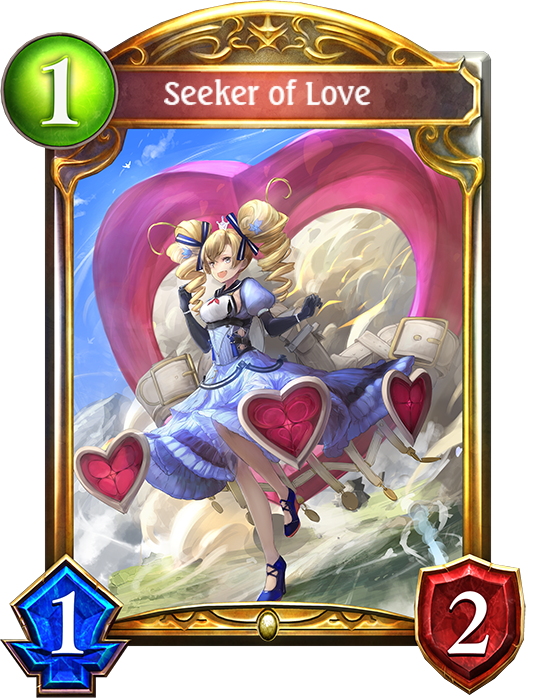


By virtue of being 1PP, Seeker of Love is a decent follower to play in the early game with the upside of going neutral in hand size. The tokens she puts in hand aren’t the most impactful, but may occasionally put in some work; Juliet is the primary pick in most cases because she’s the more flexible of the two options. Meanwhile, Lord General Romeo is only handy when you desperately want a Ward. Although both cards aren’t worthless to the point where there are no use cases, they’ll likely be the first thing you discard with Troops early on. Upon reaching Rally 10, she’ll summon one of them, meaning the 1-cost Juliet will frequently contribute toward your method of attack.
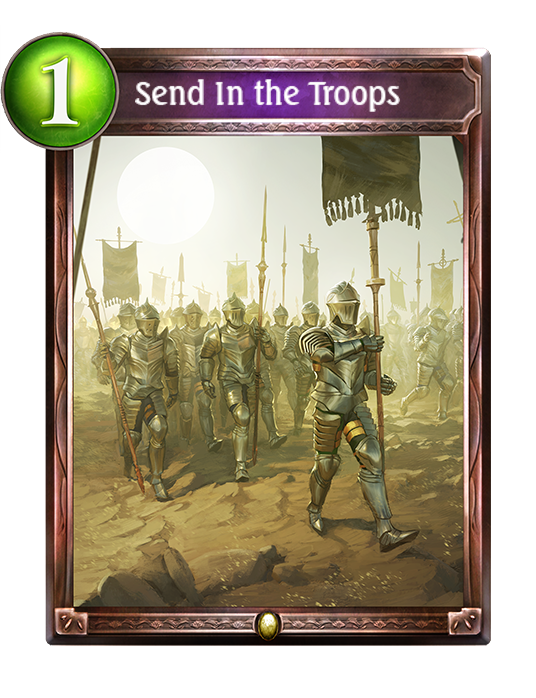
A cheap spell that allows you to dig deeper into the deck while remaining hand-neutral. Luckily, it can only pull Swordcraft followers, meaning it’s more likely to find cards that advance your game plan.
Regardless of the deck, you’re all too familiar with the terrible feeling of never having your key card in hand. Tony’s role is to boost your chances of drawing Rogers, although it isn’t guaranteed. Unfortunately, his 1/2 statline is atrocious, occasionally making him awkward to play. Especially if you’re losing on tempo, Tony’s failure to immediately do anything meaningful can put you behind. Despite his flaws, Rogers is undeniably the most essential card to draw in the deck, making Tony a necessary evil.
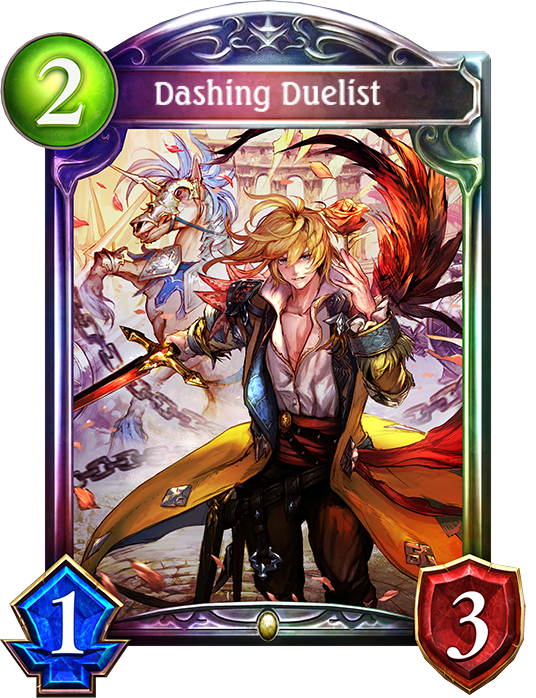
Dashing Duelist adds consistency as a 2PP cycle that gains Ward or Ambush, depending on the opponent’s class. He is by no means an evolution priority, but his evolution effect can be effective at clearing the board if you don’t have First Mate. Situationally, you can even use his evolve effect to one turn kill (OTK) if you Ambush him a turn earlier. You might have realized this deck has many followers with strong evolution effects. Fortunately, his Rally 10 effect recovers an evolution point on Fanfare, allowing you to be more lax on your evolves. The Rally 20 effect, however, is not very realistic because the game will almost certainly end before you reach that point. Most players opt to run two copies of Duelist because he doesn’t contribute to either quest particularly well; it was the same situation as Metatron. We still choose to use three because the power level of the card is compelling, and there are very few matchups where he doesn’t contribute much at all. If a full set is too much, you may substitute a tech option in his place.
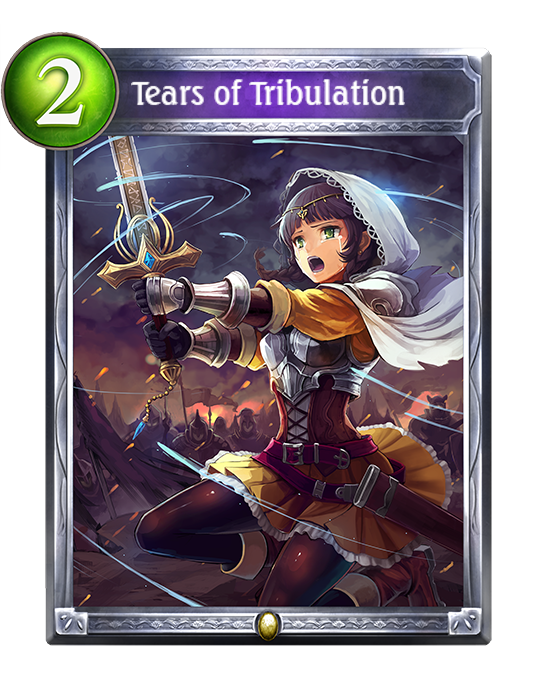
When they nerfed Untold Kick, players scrambled to find a card to replace it. At around the same time, Aggro Blood was beginning to make waves in the competitive scene; waves that were troublesome even to Barbaros’ experienced crew. Thus, players concluded that the deck could benefit from more healing. Tears of Tribulation not only heals but also is an efficient source of Rally to enable Mikael and Opulent more quickly. It’s most notably used with Rogers or First Mate to provide substantial healing against aggressive decks. Additionally, the two small Shield Guardians it summons can be practical to delay your opponent’s quest as well as protect your leader or board.
It’s a reprint of Angel’s Blessing that now comes with a 1/1 follower. Card draw is always important in a combo deck, so naturally, Asuka & Shiori make their way on board. Although their stats are terrible, going 1st will alleviate the tempo loss, making it much more probable you can play her safely. Going 2nd, your opponent will most likely need to spend an evolution point if you developed Rogers on 4, opening up the opportunity to play Twins at the start of turn 5. It’s more than possible to get the healing and recovery even later in the game since Duelist and Opulent recover an evolution point on top of the fact that Barbaros evolves for free.
This card is supposed to be an angel, but we’re beginning to think otherwise after seeing how often he enjoys being drawn. Jokes aside, playing him from hand is still within acceptable parameters because he can be utilized as cheap removal now and then. Though obviously, the ideal scenario is to Invoke him for a free source of healing and Rush. The extra recovery he contributes is all the more important following the loss of one of Loot’s most central defensive tools: Lyrala, Luminous Cleric. We don’t suggest ever cutting this card.

Spellscourger is a card that holds a lot of damage potential, especially at her Rally breakpoints of 7 and 15. She does 2 damage to a random enemy on Fanfare, which is substandard for 2PP. It’s only after progressing later into the game that she really begins to shine. On Rally 7, she’ll deal an additional round of 2 damage, and at Rally 15, she’ll do 6 damage in total; she’s very comparable to Remnant of Hollowness, being slightly weaker with the trade-off of not needing any particular setup. You may often find yourself being discouraged from going for 2TKs because you don’t have the required damage to disperse over your two turns. This is most commonly because you have to commit a Flag or two to stick significant damage before your second strike. Spellscourger singlehandedly solves this issue by shoving a lot of damage for one card. The mirror best highlights her importance, where the emphasis is heavily put on 2TKing or OTKing as soon as possible. If your opponent is gated by the limited damage they hold, Spellscourger may be the card that gives you the necessary edge in the match. If you find the explosive potential of Spellscourger to be appealing or have always just appreciated the card since her debut in Celestial Dragonblade, replace Duelist for 1 copy of her. Should you find Heal Haven a more problematic issue, consider the subsequent alternative instead. Do not keep Spellscourger in the mulligan if you choose to run her.
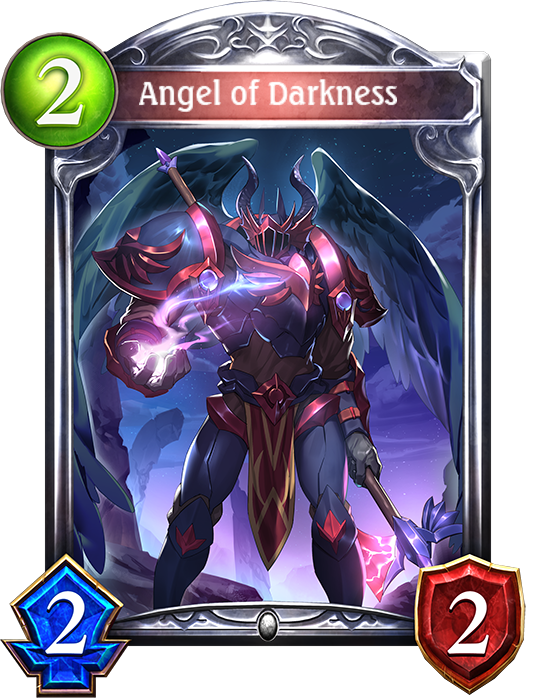
A tech card that can be thrown in to improve the matchup against Heal Haven, Buff Dragon, and Dirt Rune. We strongly recommend you consider this tech option after the recent balance changes. Heal’s stats can often climb to unreasonable numbers if they have multiple sources of cheap healing. In particular, a buffed Agent of the Commandments is impossible to clear since she has Ambush. Buff's entire deck revolves around increasing their defense. Lastly, Pascale, Radiant Oracle can double the effectiveness of their board and is especially problematic when paired with Celestial Convergence. Angel of Darkness solves all these issues, eradicating the board for the cost of an evolution point. However, against other decks, he’s just a 2/2 Rush. If you choose to go the nuclear route, we recommend replacing Duelist for one copy. Combo keep him against Heal if you secured Scout and Rogers, but toss him in every other situation and matchup.
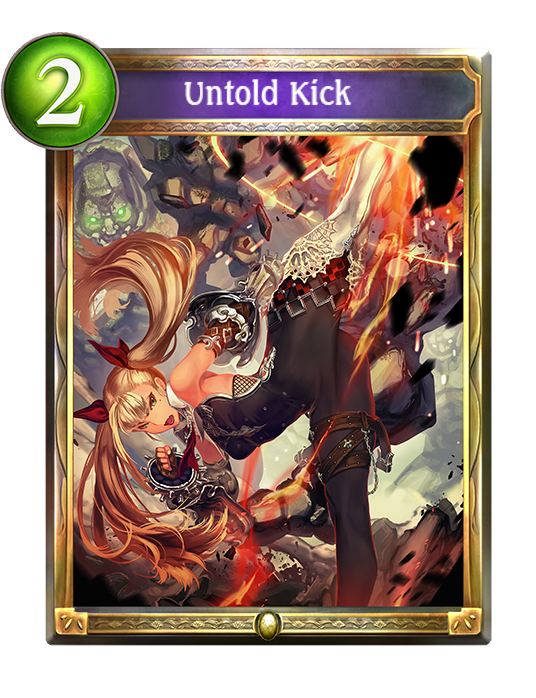
As the name implies, nobody talks about the original form of the card. From time to time, it can remove an early threat while summoning a follower, but a 2023 Whole-Souled Swing is incredibly underwhelming. The Heavy Knight’s loyalty isn’t even ironclad. The justification of the card lies in its Transmute, Legendary Kick. Kick is free, meaning it’s already a great price for removal that cycles itself. On the surface, it seems like the only application is to use it with Opulent; however, diving deeper opens up a world of possibilities. Swordcraft is prone to boardlock pretty often, but Kick can forcefully remove one of your own followers. You might even want to boardlock your opponent; Kick can prevent them from having a target to kill off their followers. They might have traded in a way that minimizes the value that First Mate provides. Kick can allow you to get an extra loop by targeting your Cannoneer. Undeniably, Legendary Kick is an extraordinarily flexible and skill-testing card. Unfortunately, this gold card was so Legendary that it had to be nerfed, meaning you can only Fuse after reaching Rally 10. It not only removes the possibility of the turn 3 Opulent + Kick combo but also makes it impossible to cycle for Rogers in the early game. We recommend Spellscourger and Angel of Darkness over Kick, but it is still a notable entry. Do not keep this in the mulligan if you run it.
If you’re at all familiar with Azvaldt’s Loot Sword, the game plan remains relatively similar with some key differences. Mainly, you’ll still focus on getting to 7 Loot while building up your Rally count when you get the opportunity. Completing your Loot quest activates Flag generation from Scout, Tidal Gunner, and First Mate in addition to Barbaros’ play point recovery. This opens the floodgates for the sheer amount of damage potential to overpower your opponent. Rally has two key breakpoints: Rally 7 gives Knightly Thief Rush, and Rally 10 triggers Mikael’s Invoke, Opulent’s cost reduction, and Seeker’s ability to summon either token. These two quests should always be in your mind, as failing to keep track of them will hinder your ability to plan for future turns in a combo-based deck. Remnant, Kagemitsu, and reliably setting up Ambush followers are no longer a factor. Instead, Rogers’ constant pings will provide the extra damage. Due to these changes, the deck plays for two turn kills (2TK) more often than before, so do not make the mistake of assuming OTK is the sole win pattern.
You are primarily looking to accomplish three things in the early game—get a head start on your Loot progression, search for Rogers, and acquire the tempo lead (if possible). In almost all matchups, Knightly Thief on turn 1 is irrefutably the best play; her stats are already great, and the Blade(s) are exceptional tools for tempo while contributing to your Loot. Moreover, playing a Loot generator on turn 1 or 2 is advantageous because it allows you to cycle two cards with Scout on turn 3 (a very standard line to be aware of). Ideally, Tony is played at some point if you don’t have Rogers, but sadly, this can be awkward. Going 1st, you’ll naturally have more tempo and hence the time to play him on turn 4. But going 2nd, you’ll either have to accept that your tempo on turn 2 isn’t going to be that great or that you aren’t able to Scout + double Loot on 3 without a turn 1 Knightly Thief.
The most important thing to accomplish in the midgame is to get Rogers’ leader effect online. The additional play point helps substantially, and the constant chip damage ensures it’ll be even more difficult for the opponent to heal out of range. Aside from that, continue working on reaching your Loot count and Rally breakpoints. First Mate is a first-rate card for both quests and requires you to know precisely what you want to do to use him effectively. Questions you should know the answers to are as follows: How much do you want to increase your Loot and Rally? Can you hold onto a reduced Loot for later? How much of your opponent’s board do you want to clear? Do you want your board to be empty, or is the tempo important? Will the Blade(s) or the Boot(s) be more appropriate? Do you like Marine Raider or Cannoneer’s voiceline more?
There is an overwhelming number of questions to consider, but a lot tends to become second nature with practice. The answer will not always be straightforward, but hopefully, the general explanations that follow aid in your understanding of what to consider. Almost all of the time, you’ll want to be getting to 7 Loots and finish your quest immediately. The only times you shouldn’t is when you need to heal with cards like Opulent or Tidal Gunner. Whether the reduced Loot or Rally count is more important depends entirely on the matchup; against decks where you desperately need the healing, activating Opulent and Mikael is usually more imperative. If you’re facing a deck that you want to OTK, the reduced Loot will likely be more valuable. When you need the maximum amount of trading power to clear your opponent’s board or want to stick a large board of your own, summon as many Marine Raiders as possible before evolving First Mate. Each Marine Raider contributes 3 damage when trading and an additional damage with the Blade she grants on Last Words. Likewise, you can trade her into a 1-health follower to keep the 2/2 body. Make sure you have the necessary amount of Boots to distribute to your Marine Raiders, though! Assuming you want to give your opponent minimal trade targets and leave your board empty, spam Cannoneers and trade them into higher-health followers before First Mate. This should also be the case if your opponent is unlikely to provide targets for your Blades and you don’t have Barbaros to Fuse them off.
Tidal Gunner, Barbaros, Flags, and Seeker are the cards you should end the game with after finishing your Loot quest. Commonly, you’ll be going for 2TKs, but if your opponent is likely to recover too much health, opt for an OTK instead. Even though the lethal patterns are less complicated than before, it still doesn’t excuse tunneling on specific lines. You should always look for alternative patterns, as exclusively fixating on specified lines will lead to overlooking lethals just because they’re less common.
Above is what happens in a picture-perfect world where you are able to secure Rogers. Painfully, this won’t always be the case. To prepare for these scenarios it’s important to have a firm grasp of what to do if you never find him. If your early tempo can stick and you maintain board presence throughout the game, you still might be able to finish with Barbaros on turn 7 and end the game as quickly as possible. She still does a respectable 13 damage with Scout or a Flag you prepared beforehand. If this isn’t the case and your opponent is already far from dying, put a heavier emphasis on your Rally. This allows for more defensive gameplay with Mikael and Opulent with the aim of bridging the game to a double Tidal Gunner turn.
Being mindful of how much damage you can do is pretty crucial for a combo-based deck. While the execution of the combo will vary, it's necessary to know how much damage you threaten, how many cards you use, and how much your opponent can heal. Since there are so many possible combinations, it would be impossible to list them all here, so below are some of the common ones you will find:


This is a rare case where we can set up a turn 7 Tidal Gunner OTK going 1st. Play the Blade (on Robotics Reporter) and Goblet to get to 7 Loots, dealing 2 damage to set them at 15 health. Then play First Mate and evolve him. Reduce the Flag, making it cost 0 in preparation for the next turn. The board doesn’t matter because they can never win from this position (our opponent’s Machina/Academic destroyed count is 7), so we can kill off First Mate by trading him into Reporter. Next turn, we have 22 max damage with Tidal Gunner, Barbaros, another Tidal Gunner, and four Flags. If our opponent’s Mikaels are still in the deck, they’ll heal for 2 but still be out of Resonance, making them unable to play Blazing Barrage (if our opponent techs that) with Robotic-Arm Rescuer. If they drew all of their Mikaels, they’ll have the Resonance to play both but wouldn’t heal enough to stay out of range.


* = unless you have Rogers
** = unless you have Knightly Thief
Do not keep duplicates unless specified


IT’S MUTINY! The mirror is a battle of tempo, speed, and eventually reach. The player who falls too far behind in any of these categories will be the first to sink. 2TKs and OTKs are both viable methods of attack in this matchup; it will largely depend on how the game progresses, so although you must remain flexible against all decks, it’s especially vital here. Irrespective of which side you play, 1st and 2nd each offer their advantages, making this matchup very even.
The early game is a perfect opportunity to secure a head-start via tempo, but the player going 1st will naturally have an integral advantage on this front. Knightly Thief and Penguin are ideal options to be playing because Blades play a pivotal role at this stage of the game. Not only can it deny an extra trade from the enemy Knightly Thief, but it also alleviates the pressure your opponent throws at you. Duelist is another card that diminishes the chip damage you take. For those familiar with Loot in the past, you’ll realize that he replaces Metatron in her role early on; Duelist is relatively challenging to remove and protects the rest of your board. The significance of maintaining an immediate tempo lead is it’ll inevitably contribute small amounts of chip damage early on; the more damage that sticks, the more your opponent will have to work to heal out of your lethal range in future turns.
You will complete the bulk of the Loot quest in the mid-game. Both players will be racing to accomplish this as quickly as possible to gain access to their explosive burst damage. As a result, you should be aiming to delay the opposing player’s Loot count whenever possible and take all the treasure for yourself. Denying targets is arguably the most consequential element you should have a firm understanding of. Any Blades you didn't spend prior are unusable without a follower to select. Unless Barbaros is in hand, it’s usually correct to utilize your Blades when given an opportunity. Disallowing Blades can be important, but the main reason you’re not supplying any targets is to reduce the effectiveness of First Mate. If given the opportunity, he’ll almost certainly complete the Loot quest on his own and contribute considerably towards Rally, as well. Previously, your opponent could punish an empty board by pre-evolving Illustrious Thief to cycle, increase Loot, and set up 4 damage you had to go out of your way to intercept. But with his retirement, there’s no longer any reason to give them the opportunity to quickly accelerate their Loot count. Always keep track of your opponent’s quest so you can gauge whether it is urgent to deny their Loot and predict when they’ll start being able to dish out critical damage.
Now that you’ve completed your quest, it’s time to open fire at your opponent. Oddly enough, you won't load the cannons but instead hurl Flags at them. At this point, it’s all about healing out of range from their burst while safely setting up your own damage. The player going 2nd will usually have more resources, giving them better options and higher chances of dealing a more devastating blow. Assuming they evolved a Rogers on turn 4, reaching 7 Loots by turn 6 is within reason, meaning they can push the first wave of burst before your turn 7, seeking to 2TK you the following turn. Additionally, their odds of OTKing on turn 7 with a reduced flag are significantly higher with the extra resources and evolution point. If you’re going 1st, try to make a strong board on turn 6 if they’ve already completed their quest. You need to make it as awkward as possible to reduce a Flag with First Mate so you don’t immediately lose. If they have taken too much chip damage early on, they’ll easily get sunk without having the chance to return fire. The most noteworthy sources of healing come from Mikael and Opulent; the two contribute substantial recovery but are only effective after reaching 10 Rally. If you notice that your opponent hasn’t yet reached that breakpoint, it might be in your best interest to finish quickly with a 2TK. In situations where both players are at max health, it’ll come down to whoever can assemble an OTK first. Lyrala was a vital piece in negating the first chunk of damage while healing, but with her rotation, your OTK and 2TK lethal setups are far more reliable. Your opponent will be doing the same thing, so evaluate which line you go for carefully to emerge as the Pirate King.


Heal Haven is a defensive deck focusing on constantly creating huge boards that eventually overwhelm the opponent. Elluvia, Graceful Lady’s evolve effect makes this possible by buffing all followers whenever they heal. Although their turns after getting her active are terrifying, before that, their tempo is extremely weak. Because of this, it’s realistic to create a board that’s difficult to set up Elluvia into without taking significant damage. Moreover, contrary to the deck’s name, their amount of burst healing isn’t that high; most of their healing are small instances to trigger Elluvia’s buff. Thus, you generally go for 2TKs in this matchup to finish them off.
Before their evolve turn, you must focus on building a strong board. Tossing Knightly Thief seems very unordinary, but it’s rare you have targets to generate any Blades. Additionally, having too many 1-attack followers is really weak because you don’t threaten much damage; since you have limited boardspace against their deck, so you have no choice but to manage it wisely. Your primary objective is to force out valuable combo pieces, such as Verdilia, Rogue Professor and Lou, Lady-in-Training. These two cards are very problematic when paired with Elluvia, so provoking your opponent to play them will limit the power level of their evolve turn. Other than Elluvia, the other card you need to watch out for is Agent. When evolved, she’ll add another copy of herself from the deck. They have Ambush, allowing them to lock your board while making it difficult for you to clear them. You should set up a Duelist before their evolve turn or pick Graceful Maneuver from Opulent to handle them. Keep Duelist unevolved, only pulling the trigger when the invisible women hit the field. No one spies on him and gets away with it; after all, he has a family, you know.
Opulent is a surprisingly effective card here, as the threat of creating a 5/5 with the rest of your board is terrifying for the opponent. Her health recovery later in the game is futile because it already means they successfully stuck a follower on the board. When playing her early, you always pick Graceful Maneuver to have an appropriate answer to the Agents. Wards can also protect Opulent from an evolved Elluvia, meaning they either have to roll the dice with Lou or have enough heals for Lou to get over a Ward; if you have a 1PP spell (that isn't Blade), pick Romeo from Seeker so you can evolve Opulent and protect her on the same turn. Tears can also suffice while also being cheap enough to work with Rogers on turn 4.
After Elluvia is active, their boards will progressively be more demanding to clear. If you run him, hold Angel of Darkness to clear Agent boards or boards that are otherwise impossible to remove. Jeanne, Worldwalker boards are also problematic, especially since damage protection on a Ward makes them immune to damage from Flags. Due to this, Barbaros is unlikely to connect face and is used primarily for removal and Flag generation when going 2nd. The silver lining is that on Jeanne turns, they already dedicated nearly half of their play points without healing, making them more susceptible to 2TKs; prepare damage before their Jeanne turn and finish them off through their Wards with Tidal Gunner(s) and her Flags. However, watch out for Prayer Urn, as it can be very problematic when setting up 2TKs. For four turns, it’ll add an additional heal for each follower played. Throughout the game, the healing adds up and forces you to go for a slower OTK line. Urn puts you in a disadvantageous position as it requires that you clear, set up damage, and survive the turn following Jeanne. This is usually salvageable if you draw multiple Tidal Gunners, but it's an uphill battle otherwise. Desperate times call for desperate measures, and you will eventually land yourself in a position where you’re unable to clear the board and lose if they play Jeanne. In these situations, you can attempt to semi-boardlock them to the best of your ability with Tears. Since Jeanne requires the opponent to play three followers to deal her area of effect (AoE), and amulets like Urn and Bambeauty's Examination Hall take up board space, it’s possible to set up for lethal while preventing them from connecting. You will almost always lose immediately to Meus Gourmand or Verdilia, so only use this as a last resort.

With the recent balance patch, Buff has launched into relevancy, quickly finding a spot in the meta with its strong tempo and highroll potential. There are many impressive things you could mention about the deck, but its healing potential is nothing to write home about. It has bits of healing here and there, but it's usually not enough if the Loot player is able to put Buff on the back foot. A determining factor for this matchup is the battle for tempo. If either player can get a commanding lead on board, they will force the other to play from behind, taking a lot of chip damage and being well within range of a solid push. Because of this, this matchup is largely 1st Favored. Aim to win through early tempo into a turn 7 kill, but if your opponent has been able to stabilize, fall back to a slower game plan and stall until you can finish them off with Tidal Gunner.
Go wide as soon as possible. Buff dragon’s AoE comes into play much later in the game with Drazael, Ravening Enforcer and Coach Joe, Fiery Counselor. For now, it’s safe to swarm the board and make it difficult to remove your threats because all their cards will only hit one follower at a time. Gunbein, Lofty Dragonewt will deal 2 damage to a random follower, potentially being able to kill Knightly Thief before she gets any value. Since Buff Dragon badly wants to play a buff on turn 1, opt to play Seeker over Knightly Thief going 1st. You can play her next turn if you don’t have a 2-drop or fit her into your turn 3 curve. Even though you can play around Gunbein, there’s nothing you can do to prevent a turn 3 Grand Slam Tamer; she’s the Scourge of the Seven Seas.
Duelist’s evolve can be detrimental for the Dragon player; you get to AoE their entire board while strengthening your own. He even gains Ambush in this matchup, so it’s nearly impossible to remove him if set up beforehand. Often, it will be worth delaying your Rogers evolve to secure that tempo lead and push 5 damage. It does not mean that turns where you evolve Rogers are weak, though. Most notably, the small Wards from Tears protect his 5/5 body. If the healing will already bring you to 19 or 20 health, you can even play the Goblet to heal Rogers out of range of a lucky Gunbein snipe. First Mate is discernibly solid against the deck that constantly focuses on increasing the health of their followers. The Blades will always be playable, so in any case, prioritize Marine Raiders over Cannoneers. Though sometimes even First Mate isn’t enough. If the board gets too problematic, this is another other deck where Angel of Darkness proves to be invaluable; if you run him, you basically bought yourself another emergency button. If not, you’ll likely have to commit a Barbaros or an Opulent, so work towards your quests and save them for necessary situations.
Barbaros is unlikely to connect face if they have Drazael, Coral Spirit, or multiple Wards, so do not tunnel on her Storm damage when aiming for a lethal setup. If you cannot win with your accumulated chip damage into a turn 7 push, prepare for a 2TK or OTK. Expect Drazael, Militant Mermaid, Coral Spirit, and Twins to recover at least 5 health when considering these options. Maintaining an evolution point advantage is significant as you both have access to Twins. Her healing and card draw can commonly be the determining factor in who wins. They have Dion, Scarlet Scion and usually one to two copies of Olivia & Sylvia, Wardens, whereas you have access to both Opulent and Duelist for evolution point recovery. Keep these in mind when juggling your evo points. Clearing the board, healing, and setting up more damage until you have enough is the ideal endgame pattern, but their board will grow progressively more difficult to remove while you run out of answers; you are on a timer. Every so often, the Buff player can leave themself vulnerable if they aren't paying attention to possible board locks. Because their stats are so high, it isn't easy for them to sack their followers and make room to play more cards. For example, if your opponent is left with only one board space, they won’t be able to play Dion to recover an evolution point and increase Joe’s damage potential. You can severely hinder Buff’s damage in this way, so you should always seek opportunities to make the most of your Romeos and Tears.


As the name implies, Evo Blood focuses on summoning evolved followers to get to their powerful payoffs, such as Signa, Sealed Madwolf, Alice, Wandering Dreamer, Lian & Alfie, Companions, Tevali, Demonic Cat, and Grimnir, Divine Stormspear. Their main strengths are their ability to heal while dealing damage and creating intimidating boards behind Lian & Alfie. Although your boards won’t be very threatening to them, neither should theirs. Loot has superb answers to Lian & Alfie and, unlike Evo Blood, can set up an OTK. Your winning pattern in this matchup is to clear their boards, heal out of range, and set up a win with your Flags. Eventually, your opponent should run out of steam, or you’ll swiftly overtake them in a single turn.
Establishing tempo is just as important as with any other matchup, but even easier here due to Evo Blood’s rough early game if they lack Doublame, Seeker of Beauty. Despite the fact that they won’t be very threatening, there are some cards you should be playing around. The main one is Goblin Genius. Do not have more than three followers on the board at a time, else he’ll overtake your board in combination with Blooming Dancer or Gadel, Ravenous King. This will also accelerate their evolve count very quickly, making it much more likely that you get overrun by their damage and board before you get a chance to heal. When you have the chance, trade Knightly Thief. Otherwise, she won’t contribute any Loot if they play Peckish Owlcat or Grimnir (not as often). Occasionally, your opponent will play Signa in preparation for their evolve turn. If you can clear with Tidal Gunner, take it; she has too much board clearing and damage potential, plus you also get the bonus of denying the evolve.
The mid-game is all about keeping track of their evolve count and using your resources wisely when clearing their boards. You should primarily hold onto First Mate to deal with problematic boards, such as when they swing the board with a previously set up Signa. Another card that can be tricky to manage for most decks is Lian & Alfie. Barbaros and Opulent are very efficient answers once you’ve met their requirements, but are otherwise clunky to play. If you notice them rapidly approaching 5 evolves, you must focus on completing one of your quests ASAP, or you’ll likely get overrun. Apart from not playing into Goblin Genius, as mentioned earlier, there are other ways you can slow down their evolve count. Alice only gets the play point recovery on Strike, so if they recently reached 3 evolves, you can make efficiently gaining resources awkward for your opponent by not providing followers. Provided you are unable to deny targets, it’s generally better to go tall as opposed to wide. It doesn’t just reduce the effectiveness of AoE cards like Olivia & Sylvia and Signa, but also makes it more difficult for your opponent to stick a board in general. For example, if you kill off the Cannoneer instead of value trading Rogers on turn 4, they’ll need Kyrie, Fragment of Hope to efficiently answer your 5/5; and even then, they won’t be able to Gadel because Kyrie won’t be able to trade. In a different hypothetical where they have another follower and Blooming Dancer, they’ll need to kill off both followers, as opposed to being able to value trade over your smaller follower(s). Alongside slowing down their quest, minor things like this allow you to quickly reach your Loot and Rally before your opponent can do anything too threatening.
As both of you finish your quests, they’ll start dealing damage to you with Alice, Grimnir, Signa, Doublame, and Tevali. Although they have access to a lot of damage, their deck is not built to OTK you. Try to maintain an evolution point advantage over your opponent because this is another matchup where both of you run Twins. Not only does she provide pivotal healing for both players, but she also ensures that you won’t run out of steam first. Goblets, Mikael, and Opulent will be your other sources of recovery used to counteract the damage they dealt. Going for 2TKs in this matchup isn’t recommended, as they have access to a lot of healing as well. However, if you find yourself going for this line, keep your board empty to play around Gadel and try to maintain an evo point lead to play around their Twins, as mentioned earlier. The other cards you need to watch out for are Tevali, Bloody Session, Mikael, and Ruler of Retribution played from hand. Apart from that, try to focus on OTKing. Do note Barbaros is rarely able to connect face, so do not rely on her Storm for your OTKs. Luckily, they’re essentially forced to play Lian & Alfie to stop her from doing so, meaning you can immediately answer them while generating a Flag to hold on to. Every so often, you’ll be in a situation where you need to set up for lethal but are either too low on health or don’t have the resources to clear. In cases like these, it might be possible to boardlock them. With both Ruler and Mikael being viable options, you can sometimes run away with the game. Obviously, banking on this is always risky due to Invokes being unpredictable. Some players also choose to run Odin, Advent of Ragnarok for this exact situation, so you’ll have to dodge him, too. Being forced to go for a boardlock gamble isn’t the best, but we felt it was worth mentioning. Whichever way you decide to set up your lethal, it’ll almost always end with Tidal Gunner(s) and her Flags.
Aggro Blood is terrifying to go against; the damage output of the deck is insanely high, and you are rarely able to act quickly enough to capitalize on their low health due to your inadequate damage output before reaching 7 Loot. That being said, Loot has small rations of healing scattered throughout the deck, just enough to the point where you have a decent shot of survival. The most common winning pattern in this matchup is to maximize healing until you complete your quest and turn the tide on your opponent.
Attempt to secure a tempo lead so you don’t get overwhelmed by Blood’s early aggression. This includes committing Tidal Gunner. Unlike other matchups, the insane damage potential she provides in the late game is overkill, as they will hover around 10 health. The Goblet she contributes will be practical at some point to heal, and her 2/2 statline is decent tempo. If you're going 1st, always pick Romeo over Juliet; Romeo and Duelist are strong Wards that can hold down the line for a considerable amount of time. But when going 2nd, opt for Juliet because Romeo will be a bit too slow; at that point, you usually benefit more from having Juliet's ability to trade immediately. However, if you find yourself ahead on board, DO NOT overextend by attacking their leader. Part of their game plan hinges on manually activating Vengeance to enable huge damage threats like Galom, Empress Fist, Mach-Speed Maron, and occasionally Vulgus, Infernal Headmistress or Fenrir, Endbringer. Thus, dealing damage to them indirectly puts your survival at risk. You do not care about early chip damage as your opponent will need to work for that, themselves.
On the topic of slowing down their progression, you can try to delay their Wrath count for crucial turns through your interactions with Vicious Blitzer and Demon Maestro. Killing Blitzer on your turn will deny 1 ping, while removing Maestro immediately provides them with 1 Wrath count and draw at the start of their next turn. Maestro is a card you can consider not clearing to slow their development. A standard pattern is to leave up a Maestro if they’re heading into their evo turn with 4 Wrath. Diabolus Hedone with an additional ping will only get them to 6/7 Wrath because you delayed the Maestro; you’d much rather take the possible Maestro evolve face than deal with your entire board being assassinated and taking 6 damage. On the other hand, assuming your opponent has enough pings already, try to go as wide as possible. Forcing out a Hedone may sound scary, but you demand another answer after playing First Mate or Rogers.
But why is the rum gone? While the early game likely demanded that you commit every spare play point you had playing for tempo, the mid-game offers a lot more wiggle room for you to fit in your healing. Consume every last Goblet you carry to milk out all the health you can get. This matchup is not one where you race to finish your quest as soon as possible, so you might not even evolve Rogers immediately. In particular, Twins will heal back some chip damage while giving you more options. You can always evolve Rogers on the following turn with Tears. It is a considerably reliable combo as you heal for at least 3, and the Wards can be annoying to confront. Playing this combo on turn 5 (as opposed to turn 4) lets you fit in a Goblet after playing Tears and evolving Rogers. Moreover, you even have an extra play point to play a 1-cost should you have one.
Just like in the early stages of the game, you usually do not want to deal any unnecessary damage to trigger Vengeance. This includes Rogers’ evolution effect, meaning that on turns where you evolve him, you may consider playing multiple Loot before evolving. There are many situations where you just get the free Loot and use the rest of your play points to heal or accelerate your Rally to unlock additional healing from Mikael and Opulent. The only case where you would utilize Rogers’ effect is if you’re sure you can finish the game quickly or if they’re already in Vengeance. Usually, this means you have a Tidal Gunner and another source of damage (a second Tidal Gunner, a Flag from Barbaros, or Juliet). Even then, Howling Demon can still heal the chip damage you dealt while pushing damage. He is not very common, but is still an option to be aware of.
If you’ve managed to weather the storm, finding lethal should be very simple. Your opponent has done most of the work for you, so a couple of Flags or a Barbaros will be enough to seal the deal.

Magachiyo weathered the rotation of some of their best cards and is here, once again, to bring the fight. They’re able to assemble an OTK much more consistently and quickly than Loot, so you’re forced to be as aggressive as possible and hope they don’t have the necessary answers to your cards. Unfortunately, Magachiyo has access to some of the best control tools in the game, whether it be board clear or healing, making it exceptionally difficult. Furthermore, swarming the board leaves you vulnerable to being boardlocked, meaning you must walk a thin line between being as aggressive as possible without overcommitting and getting punished. Praying your opponent bricks or doesn't have the necessary cards to recover from the damage you dealt is never a good position to be in, particularly for a deck that’s so used to being in control. Magachiyo is definitely the most challenging matchup for Loot in the current meta. So buckle up your bootstraps, grab onto the gunwales, and batten down the hatches. We’re heading into stormy waters!
Race them immediately. Knightly Thief, Seeker, Penguin, and Opulent are all outstanding options. If you notice you have a strong curve, pick Juliet from Seeker, as you’ll be able to continue the pressure. Otherwise, choose Romeo or refrain from playing her until later in the game when you need to play defensively. Opulent also gives you a choice, but this one is much more straightforward. Unlike against Heal, Graceful Maneuver will never be playable, so the only token you should take early on is Wee Merchant's Appraisal. Her 3/3 body requires Winged Inversion or a lucky hit with Thicket of Gnarled Hands to clear her; bounces and 0-cost cards are valuable resources for Magachiyo, so even if she gets answered, it’s not as if your opponent comes out of the exchange with nothing lost.
Keeping track of their hand is vital. If your opponent has committed all of their May, Budding Spring Winds, you can safely swarm the board so long as it doesn’t boardlock you. First Mate can go pretty wide if you summon Marine Raiders, but this generally isn’t recommended. For one, Blades are abysmal in this matchup because your opponent provides little to no targets per turn. Unless you have Barbaros, these Blades are going to be stuck in hand and be near impossible to count towards your progression. In addition, the Marine Raider only reaches a significant breakpoint at 3 health to survive May’s AoE. Even if you invest a Necklace to make this line work, your opponent can transform her into a Snowman with Lily, Crystalian Brilliance. Making Marine Raiders is only recommended if you already have Barbaros in hand and if the extra Loot isn’t relevant or if an additional Cannoneer wouldn’t have been able to trade itself off anyway.
The hardest part of the matchup is setting up your own damage while playing around their OTK. Preferably, you throw out a Flag and get off Rogers’ effect on turn 6 to conclude the game as soon as possible on the next turn. But outside of the few rare games where you don’t give a care in the world and roll them, it’s crucial to know how likely it is that they can finish the game. Basically, if your opponent played Freyja and is constantly bouncing Budding Initiate, it’s not a good sign. Assuming danger is imminent, Romeo from Seeker, Duelist, and Tears (if your opponent has already used their Mays) are your lifeline. It may sound counterintuitive, but pre-evolving these Wards actually decreases your chances of living; Magachiyo finds small Wards annoying as they won’t be able to crush their followers and free up more board space. Although surviving the turn is great, it serves no purpose if you aren’t able to finish them off the following turn; suppose you play a couple of Wards, and your opponent isn’t able to OTK you. They’ll spend their turn healing, boardlocking, and setting up for lethal the subsequent turn. Your opponent has reduced their Warden of Recurrences, drawn more cards, and now has an additional play point to work with. If you aren’t able to kill them from this position, you will lose. Thus, it’s pivotal that you’re able to set up a threat like Opulent alongside your Wards to make it impossible to boardlock or that you set up enough damage to end the game. Prioritize setting up lethal first, even if you leave yourself completely vulnerable. If your opponent has their OTK, then extending the game by a turn without finishing them off wouldn’t have done anything. It’s better that you take the chance immediately than giving them an extra turn to work with. Spend your additional play points to increase your chances of survival, but do not forsake playing to win to do so.
Castelle Forest aims to reach 20 forest followers left play to activate Verdant Prayer's effect, buffing all followers and enabling their 1PP Storm followers to do considerable damage. This matchup is terribly polarizing, mainly depending on whether you go 1st or 2nd. Although it’s still possible when playing from behind, it inevitably means that you’ll have to deal with their massive, indestructible boards or kill through them. The most common way to win this matchup is to stick some chip damage throughout the game to kill them comfortably on turn 7. Prolonging the game any further will land you in a disadvantageous position where you struggle to clear while trying to piece together scraps of damage.
Seizing control of the board is the most important thing you should concentrate on as soon as the game starts. Knightly Thief is a remarkable tool, especially since she’s extremely likely to generate multiple Blades against their arsenal of 1-attack minions. Otherwise, she’ll force out a Castelle, Budding Mage from the opponent, which isn’t ideal for them. If the opportunity presents itself, clear Castelle immediately as their deck cannot function without her. In general, you should be trying to clear every follower they have. As tempting as ignoring their puny followers and jamming face may feel, it’s key you prohibit access to Sapling Steward. Many people obsess a lot over Windflower Tiger and Salvia Panther, and although they are also decent to deny, Steward is the much more consequential card; without her, it’s pretty burdensome for the Castelle player to generate the resources necessary to progress. Even this stage of the game hinges a lot on whether or not you go 1st. Going 2nd, you may find yourself a lot more susceptible to falling behind and being unable to prevent them from doing what they want.
Their mid-game is significantly weaker than other decks, including their healing. Their means of counteracting your chip damage will come from Plumeria, Serene Goddess, Canon, Yearning Heart, and the occasional Lily tech. Thus, ignore their board and stick as much chip damage as possible in preparation for turn 7. Although it was critical to make it as awkward as possible to play Steward earlier on, at this point, the damage and board are more important. Falling behind on tempo by playing the Steward can be detrimental to them because it gives you more freedom to keep on the offensive. Much like you, their deck is very limited in the amount of damage they can deal before completing your quest, so leaving followers will not be threatening. The Castelle player will be forced to trade these off anyway because their deck relies on claiming 20 souls, as opposed to accumulating treasure throughout the game. This may make it seem like in what manner you trade doesn’t matter, but this is not the case. It’s still important that you build tall as opposed to wide when you can. May is the obvious punish, as she’ll wipe your board if their health is too low. But going tall also prevents Plumeria from trading over a follower and being bounced. Limiting their healing ensures you maximize the amount of chip damage before the endgame.
Assuming a decent amount of damage stuck, it’s very likely that you’ll be able to end the game on turn 7. If you go 1st, it’s improbable that they were able to get off a Verdant Prayer on turn 6, and Barbaros will be free to Storm for 7 damage. Otherwise, you’ll probably resort to Tidal Gunner and her Flags. Unfortunately, all cannot always go according to plan. If you find yourself needing to extend the game for an additional turn, you’ll need to play defensively to ensure you survive their burst. Three 1-cost Stormers with two Verdant Prayers is fairly standard and deals 18 damage. If you healed to 19 or above, they’ll need a fourth follower with Storm or a third Verdant Prayer, meaning they won’t have the play points to do much else. Duelist, Tears, and Romeo from Seeker are all valid defensive options that may buy you another turn.


Dirt finally became a relevant deck after receiving three whole buffs within the span of a couple of weeks. Even though the Familiar's Pact change was largely forgotten, the other two changes have had a very significant impact. In particular, they speed up Dirt’s game plan to build and consume Stacks while also granting it access to one of the most ferocious turn 5 boards in the current meta. This does wonders to increase its matchup into Loot but is not enough to keep it from being unfavored. Golem Lord can win on the spot when you are unable to answer it effectively, but if you manage to stabilize, the game is very much in your favor. Dirt still has the same weaknesses of being unable to OTK, heal while pushing damage efficiently, and can’t even outvalue Loot once you complete your quests. As a result, you should first attempt to see if they can be in range for a push on turn 7. If not, pivot to a defensive game plan where you slowly accumulate damage over time and OTK them when the opportunity presents itself.
The relevance of tempo still exists, but first, there are more pressing matters at hand; as tempting as maximizing your chip damage is, it won’t matter if we don’t make it past our opponent’s Golem Lord on turn 5. Emphasize heavily on cycling through your deck if you don’t have Rogers and First Mate in hand. When both are secured, you can focus on building your Rally and strengthening your board. Many players wrongly disregard the importance of tempo entirely. They’re under the assumption that their efforts will all be for naught because Golem Lord will clear it all anyway. However, a strong board requires an answer, meaning that before Golem Lord, they’ll have to spend Stacks to heal or get rid of your followers. It isn’t going to make him impossible to play because Celestial Command generates free Stacks, but the idea is to lower their resources and hand size by forcing them to Fuse. This gives them fewer options for Fusing into Celestial Command or Midelo, Seeker of Truths later and also limits their resources in general.
Going 2nd, it’s First Mate on turn 5 to clear the Golem Lord. First Mate can eliminate the entire board (even if they decide to pre-evolve and without Rogers) provided you save a Blade or Boots going into his turn. Barbaros can clear the board by herself as well but is a lot weaker in comparison. The most common way you lose against Dirt is by either being unable to remove Golem Lord or having a weak response to it. They can follow up with additional damage or board pressure with Celestial Convergence, Levi, Wizard of Ages, or even a second Golem Lord, snowballing the advantage in their favor before you have the time to recuperate. First Mate contributes tremendously to both quests, bringing you closer to being able to stabilize as soon as possible. Meanwhile, Barbaros only contributes 1 towards both quests on turn 5, putting you very far behind.
If you successfully managed to fend off their Golem Lord and thwart their plans to ride that momentum to victory, you should be in control of the game. If you weren’t able to win on the backswing, you now have to play extremely defensively. Luckily, this should be a one-sided war of attrition. Sweet Defender Golem heals a lot, and Celestial Convergence buys them a turn, but neither pushes any damage. On the other hand, Levi and Colossal Summoning are both scary at times but are expensive and have 0 defensive capabilities. Not to mention, Dirt’s only ways to OTK are by summoning an unreasonable amount of golems or having the stars align with Midelo, Scorner of Truths. It’s pretty unlikely that their imagination will become a reality. This makes their only option to hope that you are unable to clear their boards. Unfortunately for them, Loot is overflowing with value. Barbaros and Opulent are your best control tools for healing and clearing the board, respectively. They will negate whatever option your opponent decides to go for. You can then utilize your remaining play points to heal even more or set up even more damage. The most formidable board they can present is playing Pascale alongside Celestial Convergence to create three 10/10 Guardian Golems. The cleanest solution to this is Angel of Darkness if you run him. Otherwise, it’s still manageable by playing Graceful Maneuver on Barbaros and trading the Opulent. As soon as the opponent runs out of defensive options, your Tidal Gunners will be on deck, ready to throw a barrage of Flags their way.

Please re-evaluate your view on the deck if you believe it has nothing more to offer than chucking loots at your opponent and OTKing on turn 7. Calling Loot linear couldn’t be further from the truth, so claiming that winning is impossible because the perfect draws did not present itself is not the correct way to approach Loot. Much like any deck, it has its highs and lows, but it has so many intricacies that you can explore and offers such a high ceiling to those looking for a challenge. If you’re up for it, please give this deck a shot!

Thanks @CakesHappu, @fyal_sv, @sakuakechi, and @SV_Essia for matchup testing and feedback.
Thanks @genius4428 for providing additional insight from your note.